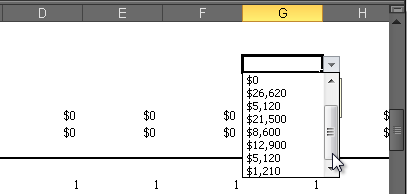
To make data entry easier in Excel, or to limit entries to certain items that you define, you can create a drop-down list of valid entries that is compiled from cells elsewhere in the workbook. When you create a drop-down list for a cell, it displays an arrow in that cell. To enter information in that cell, click the arrow, and then click the entry that you want.
There's a video version of this tip!
To create a drop-down list from a range of cells, use the Data Validation command in the Data Tools group on the Data tab.
- Select the cell in which you want the list.
- On the Data tab, in the Data Tools group, click Data Validation.

- In the Data Validation dialog box, click the Settings tab.
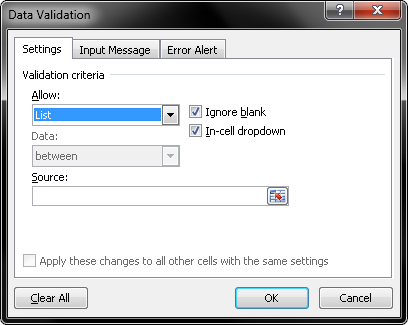
- In the Allow box, click List.
- To specify the location of the list of valid entries, do one of the following:
a. If the list is in the current worksheet, enter a reference to your list in the Source box or click in the Source box and then select your list in the current spreadsheet to populate the reference automatically.
b. If the list is on a different worksheet, enter the name that you defined for your list in the Source box.
In both cases, make sure that the reference or name is preceded with an equal sign (=). For example, enter =ValidDepts.
- Make sure that the In-cell dropdown check box is selected.
-
To specify whether the cell can be left blank, select or clear the Ignore blank check box.
-
Optionally, display an input message when the cell is clicked.
a. Click the Input Message tab.b. Make sure that the Show input message when cell is selected check box is selected.
c. Type the title and text for the message (up to 225 characters).

-
Specify how you want Excel to respond when invalid data is entered, by doing the following:
a. Click the Error Alert tab, and make sure that the Show error alert after invalid data is entered check box is selected.
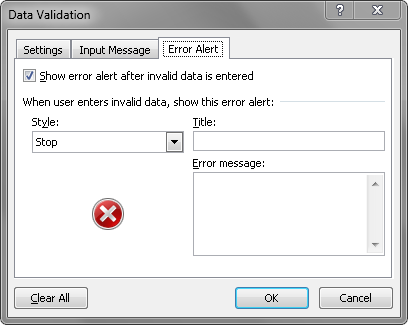
b. Select one of the options (Information, Warning, or Stop) for the Style box:c. Type the title and text for the message (up to 225 characters).
-
Click OK. You can now view the list you just created.